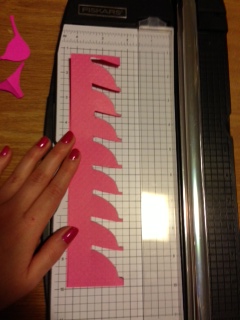
But, lately, I"ve gotten the crafty bug. I want to hot glue EVERYTHING! Think Paris Gellar's craft corner:

It started with making hand-made Christmas ornaments out of scrabble tiles for my friends and family, then bachelorette party invitations. Now: baby shower invites!
My friend Becca just found out she and her husband are expecting a baby girl in September. Having no siblings and therefore no potential nieces/nephews, I am claiming "aunt" to all of my friends' kiddos. That starts with helping throw a baby shower in June for the beautiful mama!
So, I as in the process of creating some invite on Vistaprint. Easy, cheap, cute, right? But then I got to pinning. Oh boy, Pinterest can be the devil. It can make you think you are crafty when really, you're not that crafty (I've since created a board called "Crafts I'd like to make, but let's be honest"). I saw the CUTEST baby shower invites. So stinking cute. And then I thought, I bet I could make those! So one morning, I had a few minutes to spare before work and some leftover card stock from the bachelorette invites and voila! A prototype was born.





So, I went to Archiver's to collect more scrapbook paper. Again, surprisingly, not a whole lot to choose from. But I made do and got lots of supplies. Did I tell you there were 75 ish folks invited? Yep, I got LOTS of paper.
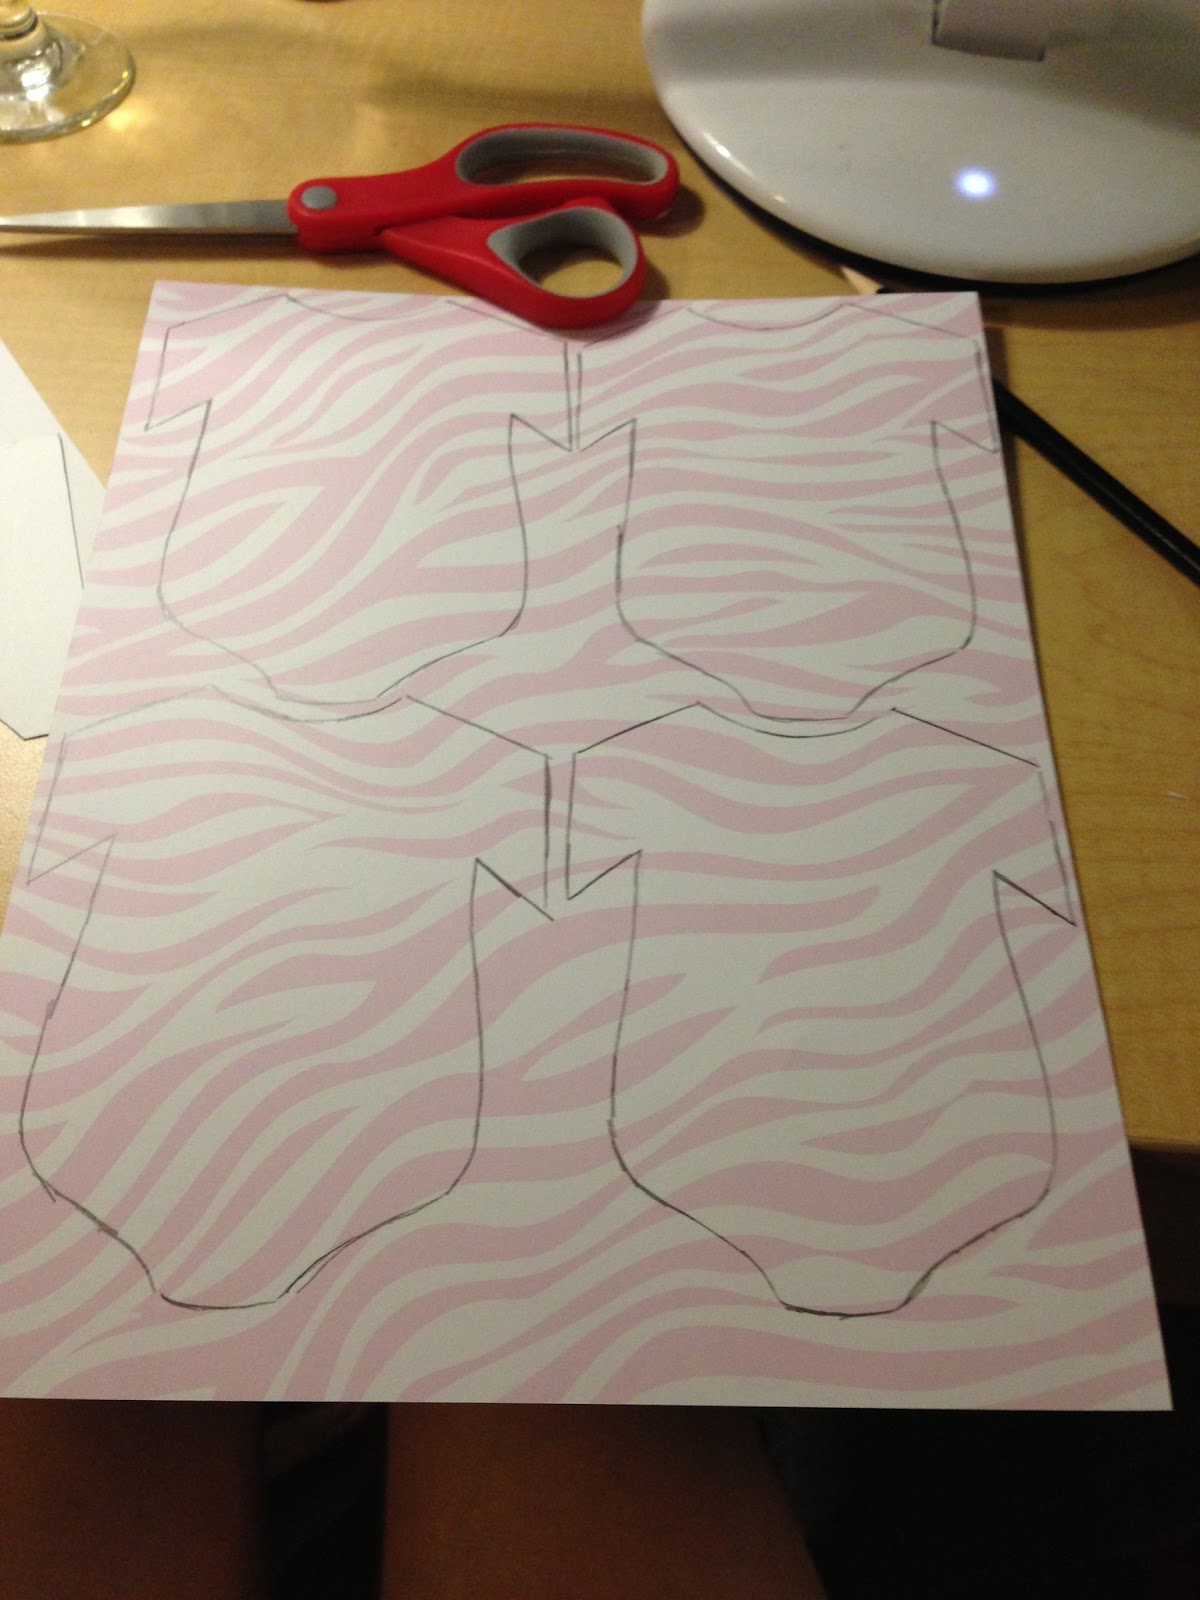
After I made the prototype, I pulled it apart and traced the top on all of the colored paper I had. You can fit four per page whether letter size paper or 12" x 12". I bought 12" x 12" because they had more color/pattern options.
But then I was looking at the patterned paper I bought and thought: hey, I bet these would look cute if I made onesies. So again, I made a prototype and traced away.
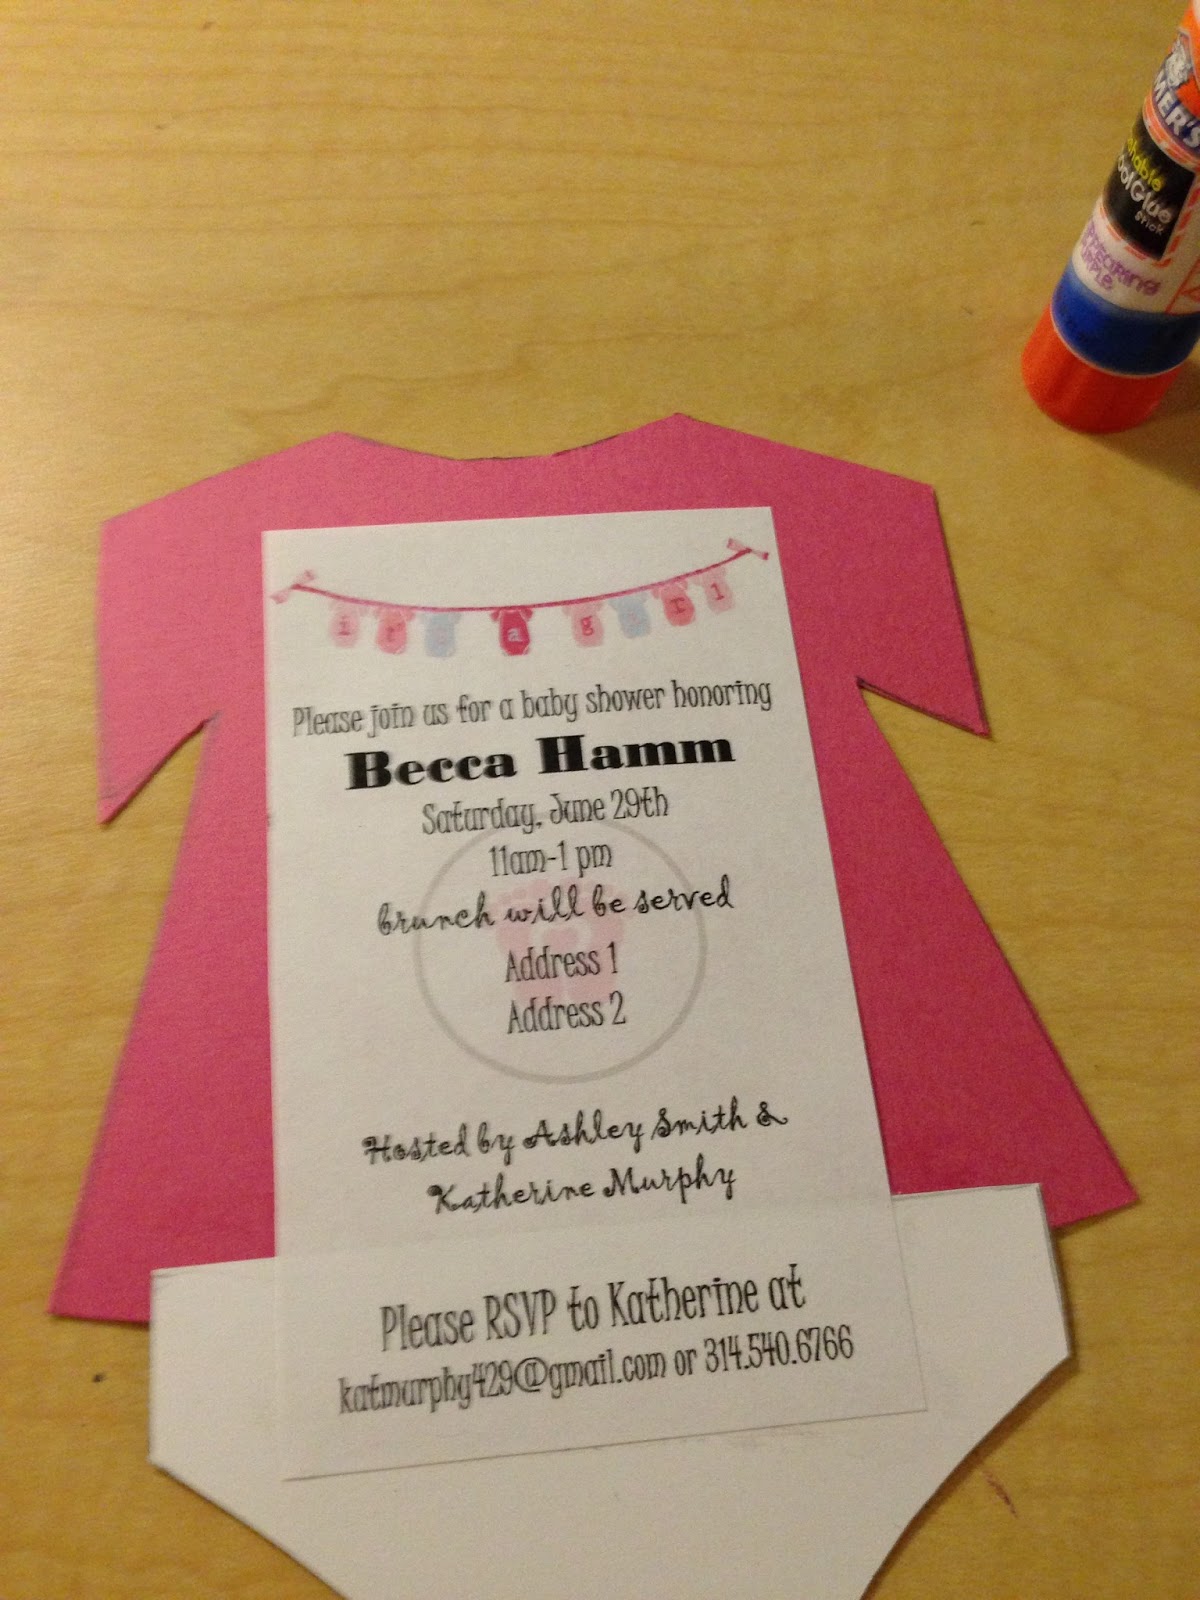
I also designed the "invite" portion to glue on the back and a business card size insert that had registry info on it.
All parts have been cut and are ready for assembly:
I use a plain old Elmer's Glue Stick. It works pretty great!
I had some scraps from the scrapbook paper, so to give the registry inserts a polished look, I glued them onto a larger piece of scrap.
The finished product:
You thought I was finished, right? Nope. Remember the whole 75 ish invites thing? It's still a work in progress. But I loved these too much to scrap the idea and go buy pre-made invites.
I've had tons of fun making these and I've been showing them to anyone who halfway cares. Because they are pretty cute. And relatively easy to make. I'll let you know how I feel when I've finished them all!
UP NEXT....ABC has released the cast of this season's Bachelorette! Stay tuned for an in-depth analysis of these "winners" the producers picked out for our girl Des. AND, listen to this podcast to prepare.